Get Started with GraphQL
Legalesign offers two APIs for e-signature integration:
- REST API - Quick start, traditional format
- GraphQL API - Full power, more flexible
This guide focuses on GraphQL. You'll need JSON knowledge and basic web request experience.
Why Choose GraphQL?
GraphQL gives you complete access to Legalesign's features:
- Request only the data you need
- Single endpoint for everything
- Same power as the web app
TypeScript/JavaScript Developers
Consider the TS/JS SDK for common use cases, but learning GraphQL gives you full platform access. Compare SDK vs GraphQL.
Try GraphQL Now
Start with the GraphQL Explorer (requires active account).
The Explorer lets you:
- Test queries and mutations
- Browse the complete schema
- Debug before coding
If you're logged into Legalesign, authentication is automatic.
Your First Query
Paste this query into the Explorer:
query myInfo {
    user {
        id
        firstName
        lastName
        email
    }
}
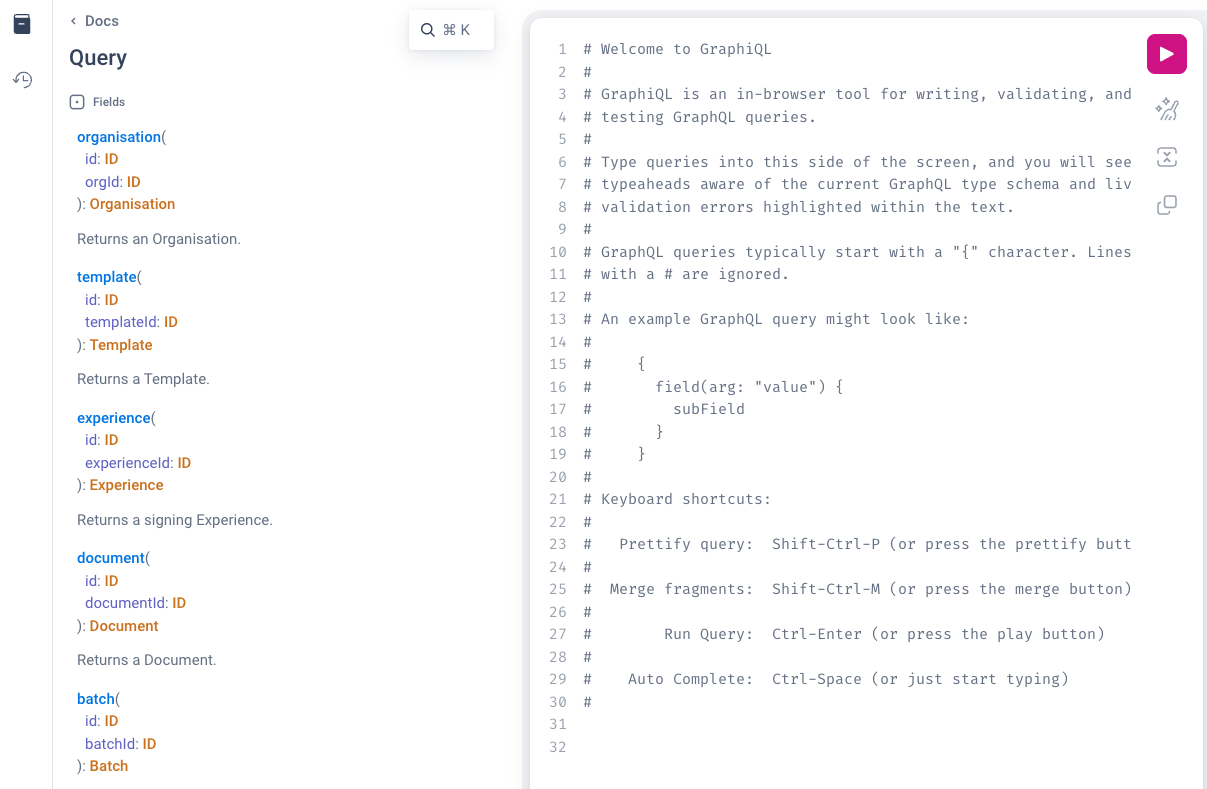 Use the schema icon (top-left) to explore available fields. Paste your query and click play.
Start here! The Explorer confirms your account works and teaches GraphQL syntax before you write code.
Expected Result
{
  "data": {
    "user": {
      "id": "dXNyNjBkNWNkODktMDg3NS00ZXC67mItZjI3ODA5NjgwMDdl",
      "firstName": "Tester",
      "lastName": "Api",
      "email": "api.tester@legalesign.com"
    }
  }
}
This gets your user info. GraphQL handles complex nested queries and mutations (data changes).
Find ready-made queries by inspecting network requests in the Legalesign web app console.
Next Steps
- Explore the schema in the GraphQL Explorer
- Test queries for your use case
- Integrate into your application
GraphQL gives you the same power as the Legalesign web app—if you can do it there, you can do it with the API.